Connecting to Snowflake
This guide will walk you through how to connect to Snowflake. You may need to contact the administrator of your Snowflake account if you lack some of the credentials discussed below.
- Open the connections page in preferences, see managing connections for more information.
- Click the
Add new Connectionbutton at the top of the connections page.

- Select
Snowflakefrom the list.
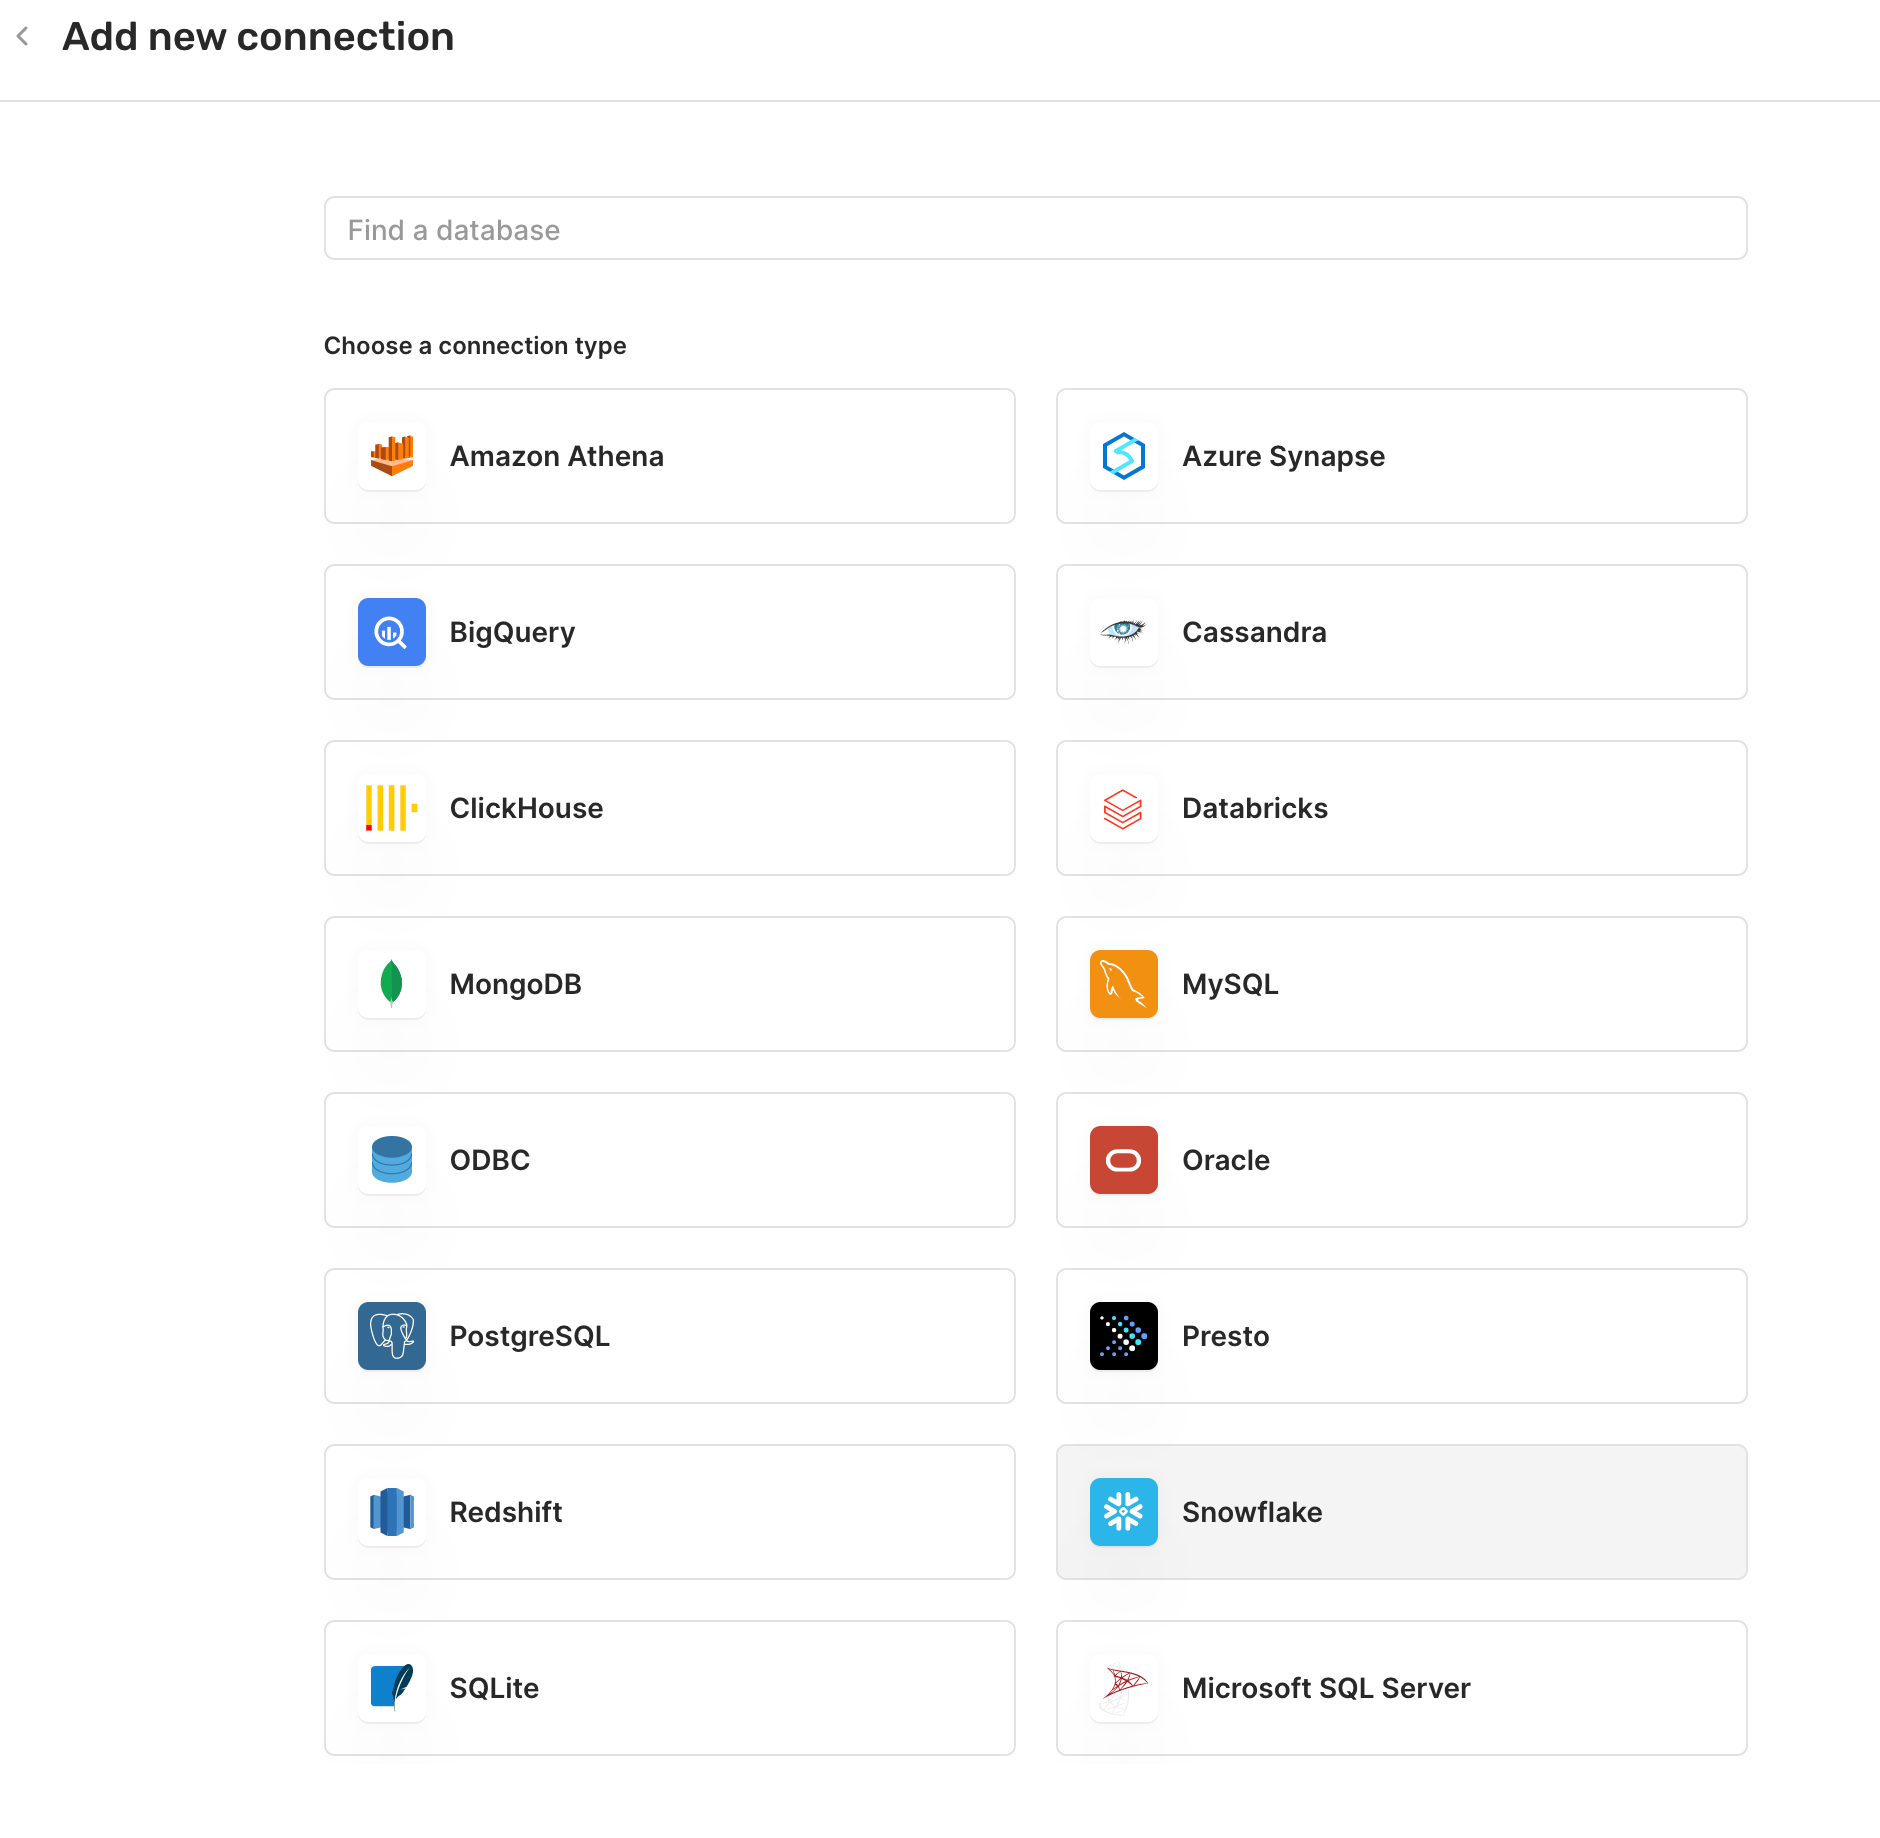
- Give a
Connection namefor your own internal reference. - Select authentication type. If using OAuth, see below for details.
- Your
Snowflake Accountis whatever comes beforesnowflakecomputing.comwhen you sign into Snowflake directly.


- For
Warehouse, in your Snowflake account, click Warehouses, and choose your desired warehouse under the column Warehouse Name.
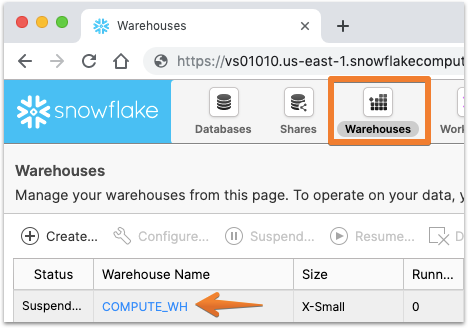
- To find your
Database, in your Snowflake account, click Databases, and look in the Database column.
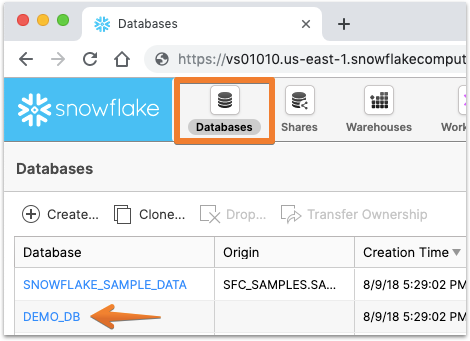
- If using Username/Password, for
UsernameandPassword, enter the same credentials as you would enter when logging into your Snowflake account.
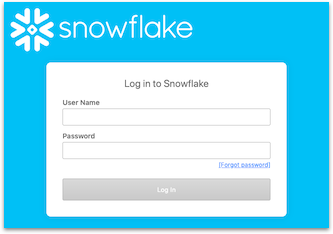
- Toggle connection type for direct or cloud.
- Share the connection with your team.
- Configure
SSHsettings. This is optional. - Hit
Connectand you're all set!
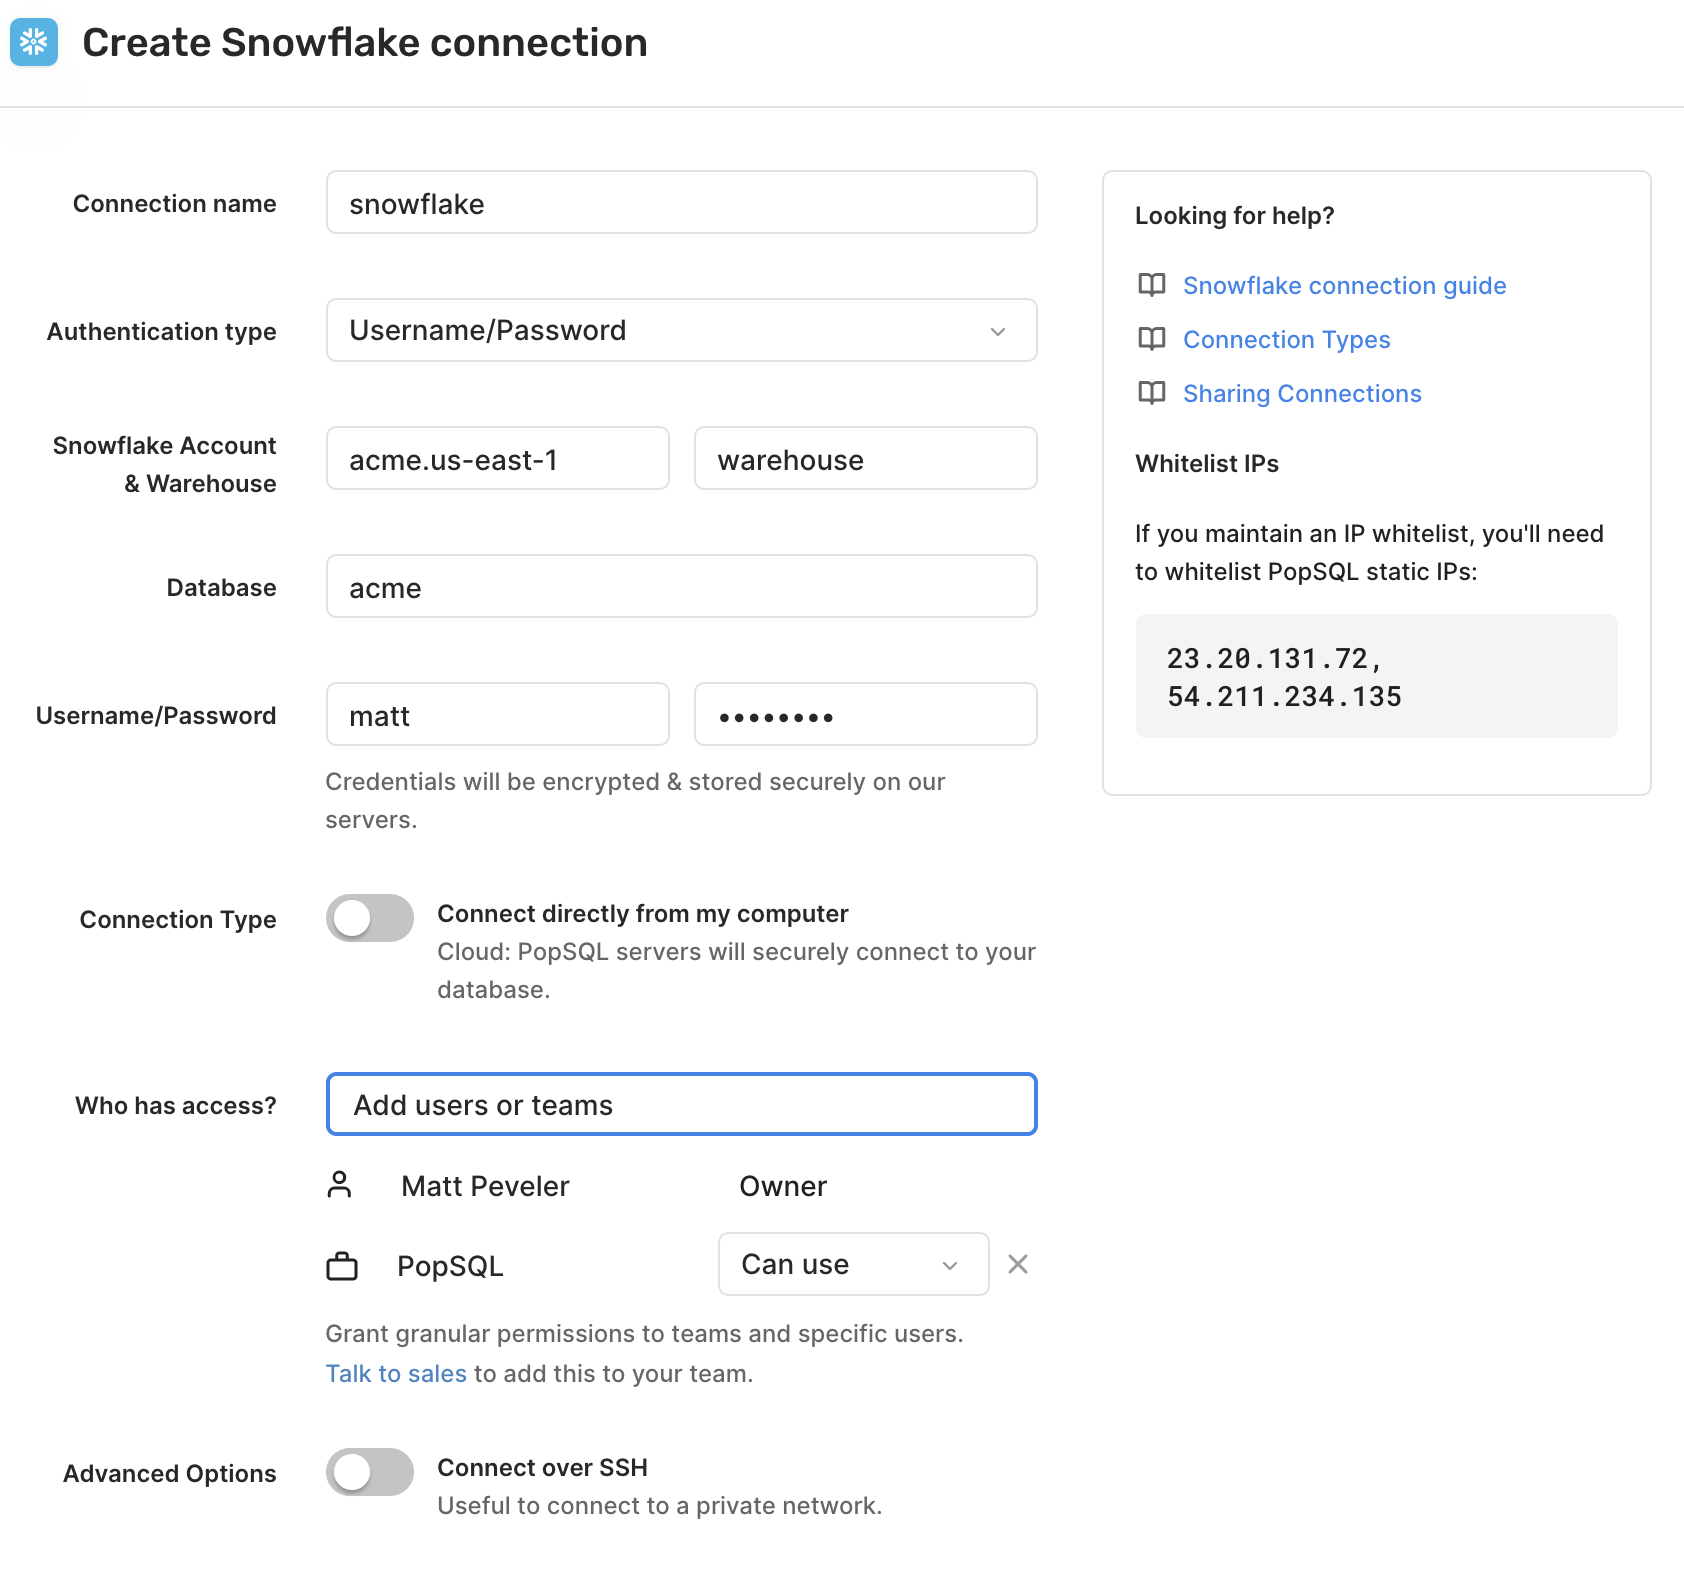
Happy querying! 🍭
SSO, Okta, MFA/2FA
If you need MFA and/or Okta to sign into Snowflake, we support that on our Enterprise plan. Please get in touch with us if this applies to you.
The only thing your Snowflake administrator needs to do in the Snowflake UI is:
-- Create OAuth security integration
create or replace security integration popsql
  type = oauth
  enabled = true
  oauth_client = custom
  oauth_client_type = 'CONFIDENTIAL'
  oauth_allow_non_tls_redirect_uri = true
  oauth_redirect_uri = 'https://popsql.com/users/auth/snowflake_oauth2/callback'
  oauth_issue_refresh_tokens = true
  oauth_refresh_token_validity = 86400;

-- Get the client ID and secrets. Note the integration name must be uppercase here
select system$show_oauth_client_secrets('POPSQL');

-- Describe the security integration
-- In order to successfully use refresh tokens, ensure `PRE_AUTHORIZED_ROLES_LIST` is empty
describe security integration popsql;
If your Snowflake network policy has an IP whitelist, you'll also need to whitelist our static IPs: 23.20.131.72, 54.211.234.135.
Snowflake OAuth
When you initially setup oauth, you'll see a slightly different version of the connection form:
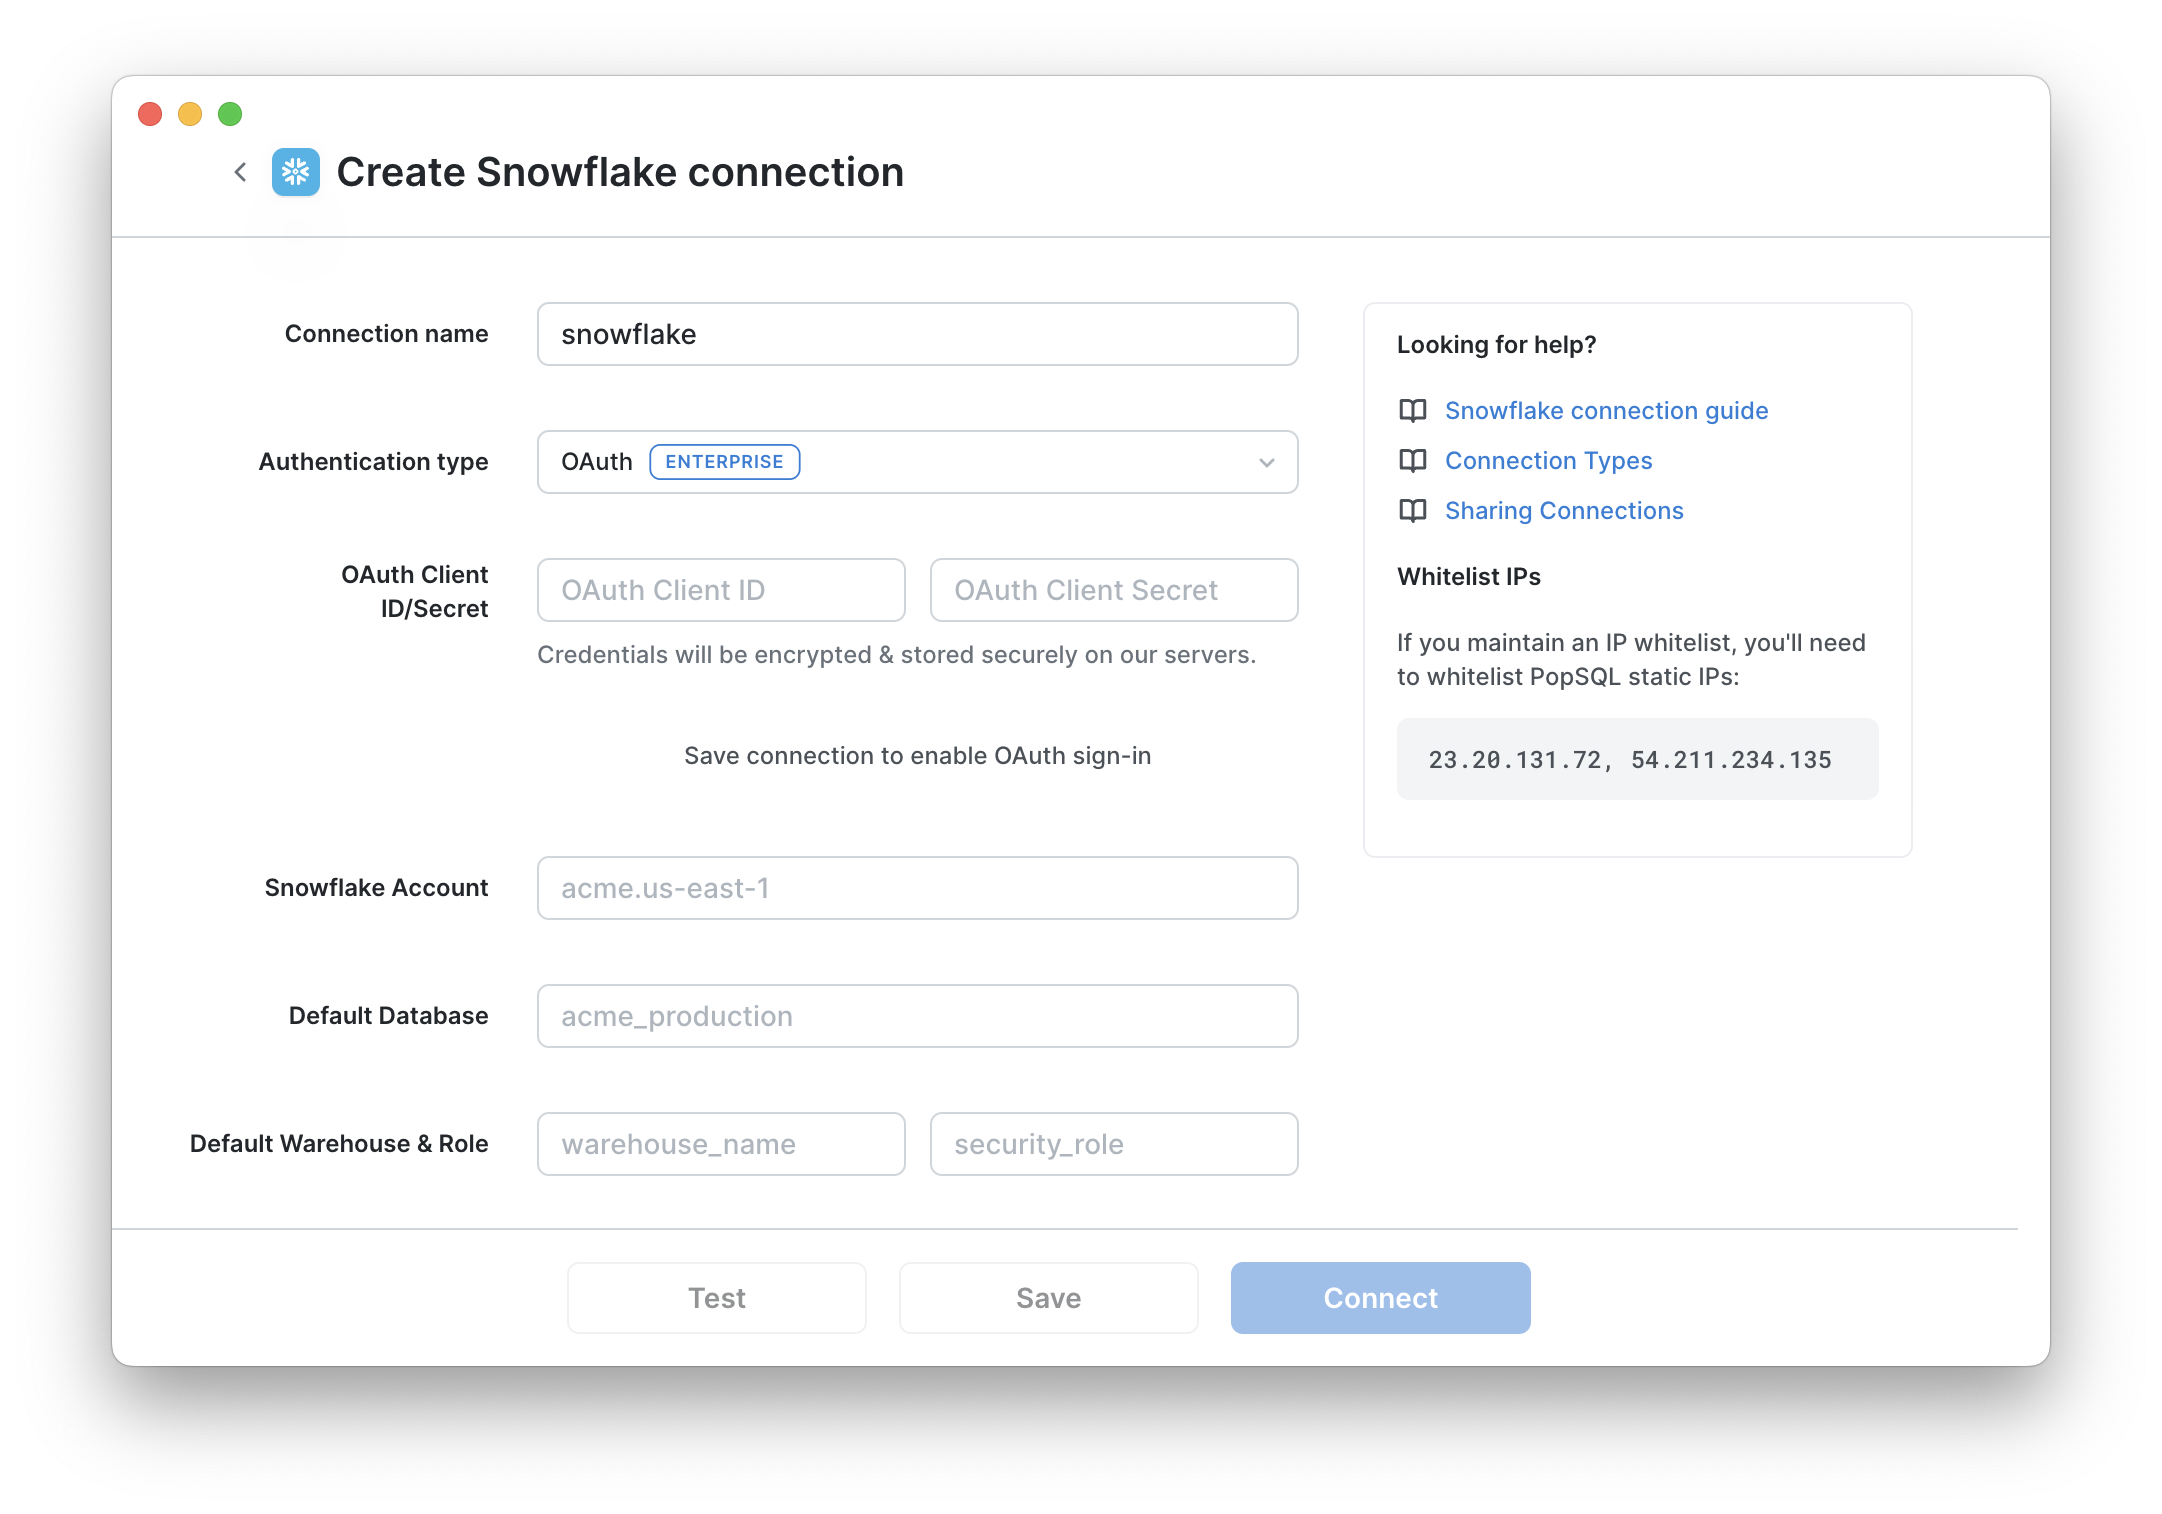
After the connection is set up, if you want to manually re-authenticate, you'll be shown a button on the connection page, like this:

Please note, when using OAuth with Snowflake, you will only be able to use the role that was used when logging in, which is either the connection role (if set), or your user's default role. If you wish to use a different role to query, you will need to either change the connection role or your user's default role and then re-login via OAuth.
Alternatively, you can set up multiple PopSQL connections, one for each role, and switch connections as needed.
Updated 5 months ago
