Connecting with ODBC
Note: PopSQL supports ODBC only as a direct connection.
ODBC allows you to connect to any database that supports the ODBC standard.
Connecting with ODBC involves four steps, which we'll go through in detail below.
- Download a connector for the database you're trying to connect to.
- If you're on macOS or Linux, you'll need
unixodbc. - Configure ODBC.
- Tell PopSQL which ODBC connection to use
Step 1: Download a connector
Step 2: Get unixodbc
macOS
Note, if you are using a M1 mac, you will need to install a x86_64 compatible unixodbc. See this post for how to setup a x86_64 compatible homebrew and you would then use that when installing unixodbc.
# If you use Homebrew (more common):
brew install unixodbc

# If you use MacPorts:
sudo port unixodbc
Linux
sudo apt-get update
sudo apt-get install unixodbc
Windows
If you're a Windows user, nothing to do here, go to the next step.
Step 3: Configure ODBC
For Windows users, visit this article.
Locate the configuration files
Now we can locate the ODBC configuration files with the following command odbcinst -j:
$ odbcinst -j
unixODBC 2.3.5
DRIVERS............: /usr/local/etc/odbcinst.ini
SYSTEM DATA SOURCES: /usr/local/etc/odbc.ini
FILE DATA SOURCES..: /usr/local/etc/ODBCDataSources
USER DATA SOURCES..: /Users/popsql/.odbc.ini
SQLULEN Size.......: 8
SQLLEN Size........: 8
SQLSETPOSIROW Size.: 8
/usr/local/etc/odbcinst.ini is a configuration file to define the ODBC drivers available.
/usr/local/etc/odbc.ini is a configuration file to define the ODBC data source name (DSN) available.
Declare a new driver
Let's open /usr/local/etc/odbcinst.ini and add the following section:
[MyODBC Driver]
Description = MyODBC Driver
Driver      = /usr/local/lib/libmyodbcdriver.dylib
The most important line is the Driver one. You will need to specify the driver library previously installed. On macOS, libraries are ending with .dylib and on linux with .so.
Declare a new data source name (DSN)
Let's open /usr/local/etc/odbc.ini and add the following section:
[MyODBC Connection]
Driver      = MyODBC Driver
ServerName  = localhost
Port        = 9999
Database    = test
Username    = popsql
The most important line is the Driver one. You will need to specify the driver name we specified in the previous step.
All other attributes as ServerName, Port, Database, Username are optional and depends on the connector. I implemented them in my custom libraries but your connector might use another name or allows for even more attributes such as configuring ssl for example. Please refer to their documentation.
You can also specify those attributes later on in the connection string.
Verify your config is good
To make sure our configuration worked, we can use a tool called isql
isql syntax is: isql DSN [UID [PWD]] [options]
If you did not specify any username or password in the previous step you can specify them here.
If everything is working as expected the command output should look like:
$ isql -v "MyODBC Connection"
+---------------------------------------+
| Connected!                            |
|                                       |
| sql-statement                         |
| help [tablename]                      |
| quit                                  |
|                                       |
+---------------------------------------+
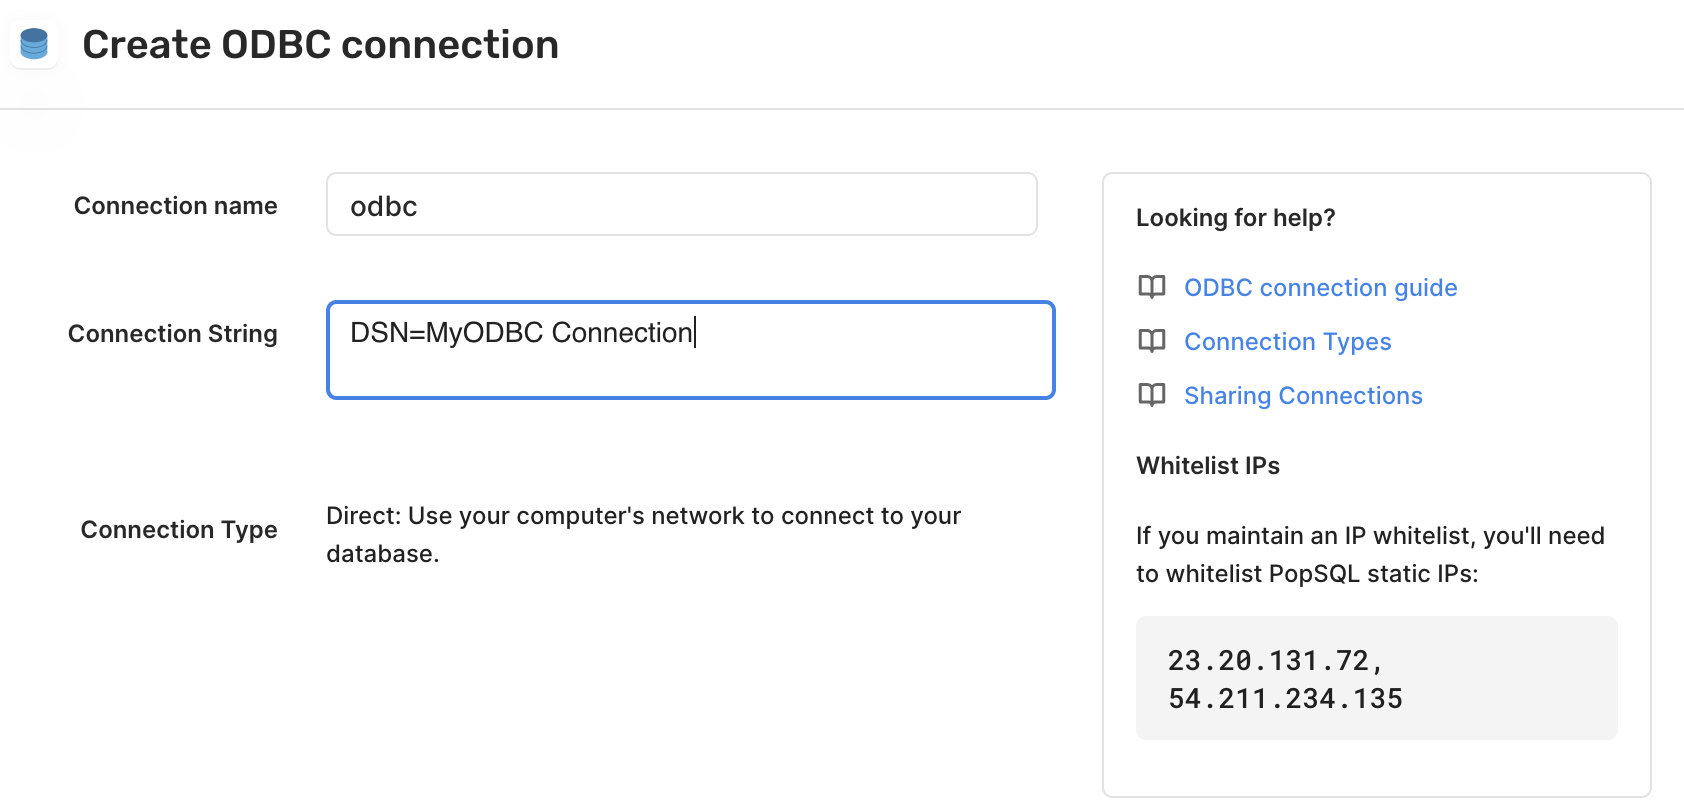
Step 4: Tell PopSQL which ODBC connection to use
Now you can tell PopSQL which connection to use based on what you wrote in odbc.ini.

Updated 5 months ago
