Fully-Managed Deploys
Overview
To ease the deployment process, we offer a fully-managed version of our private environment. We work with Release to deploy a private PopSQL environment seamlessly into your cloud environment. This setup is ideal for customers who want to have complete control over their data without the hassle of managing the operations.
For our fully-managed deployment option, Release hooks into your AWS account and handles the entire deployment process. During the setup process, you will authorize an AWS CloudFormation Template to create a role which is then used by Release to configure, deploy, run, and update your PopSQL environment.
The initial process to setup the CloudFormation integration will take 5 minutes or less, and then it will take around 30 minutes to deploy our application for the first time. Once you are setup, all upgrades are managed by PopSQL through Release. You shouldn't experience any downtime as we keep your environment upgraded to the latest version.
While Release is connected to your AWS environment, we will have access to your servers, and by proxy, anything they can access (S3 files, databases, etc.). Only a handful of engineers at PopSQL may access these installations, and we are happy to provide agreements to ensure data privacy. However, it is possible to have Release access only during updates, with information about that provided below.
Creating Release AWS Integration
Step 1: We will send you a personalized link to log into your Release console.\ 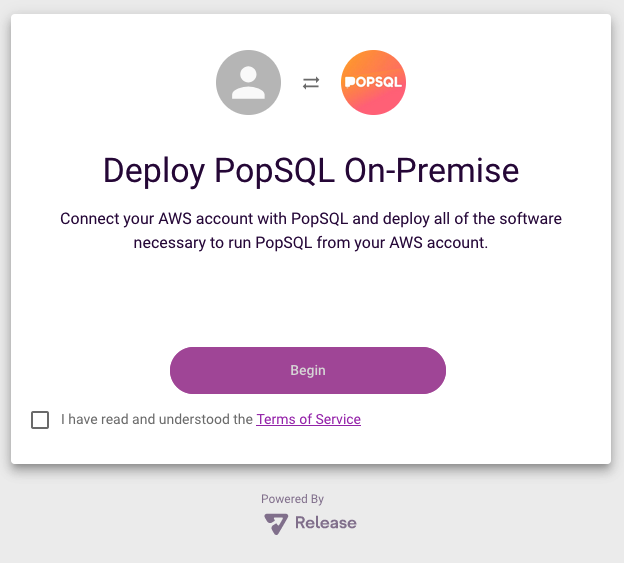
Step 2: You will be directed to the AWS console where you will be prompted to accept and install a Cloudformation template. The template creates a role that generates the necessary services and infrastructure components. The created role has an “External ID” and source-trust relationship back to the Release account. Combining the External ID and the credentials from the trust relationship establishes a secret, safe way to authenticate and authorize both parties.\ 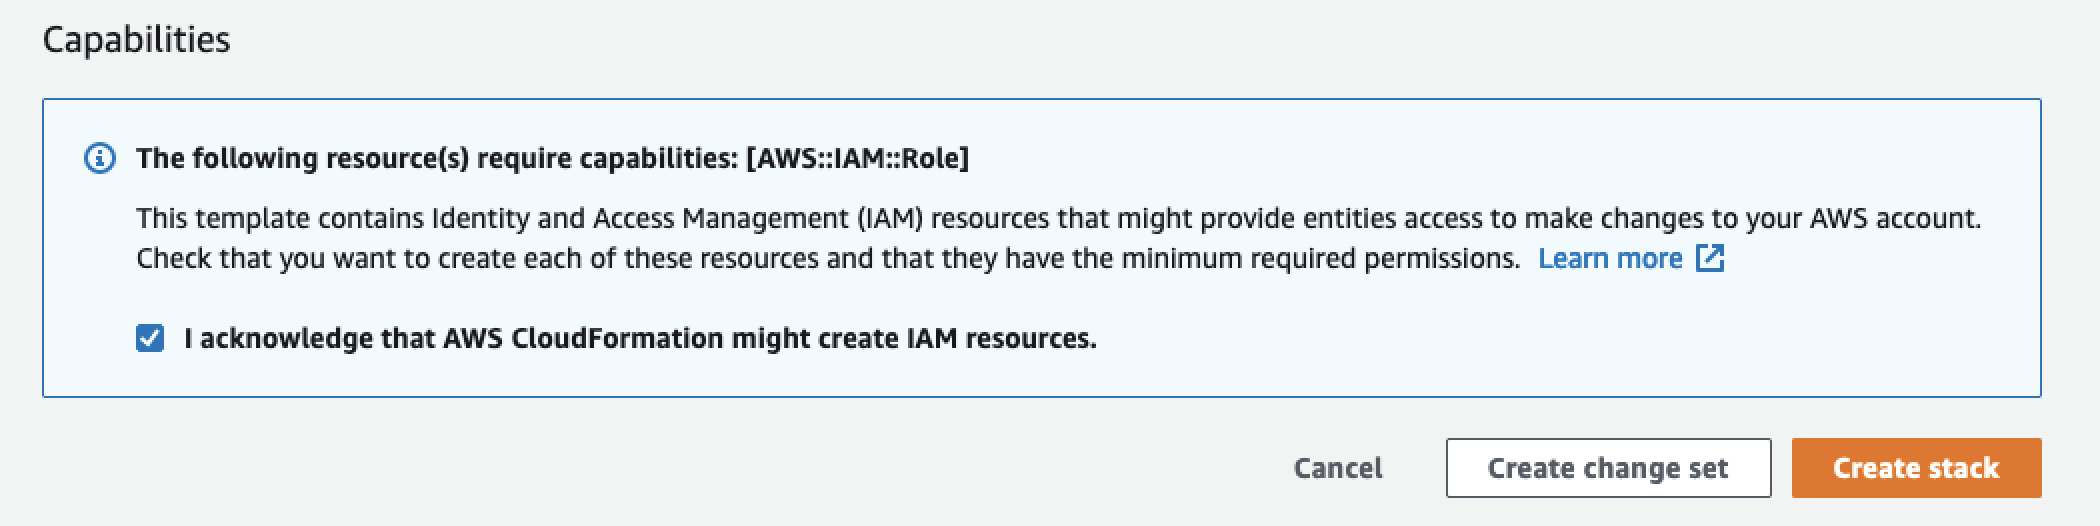
Step 2a: By default, Release creates its role with the SuperUser permission set. You can optionally use a Permission Boundary on the role to limit what it can do. A minimal Policy Boundary is given below. Replace <account_id> with your AWS account id.
{
    "Version": "2012-10-17",
    "Statement": [
        {
            "Sid": "VisualEditor0",
            "Effect": "Allow",
            "Action": "iam:UpdateRole",
            "Resource": "arn:aws:iam::<account_id>:role/release/*"
        },
        {
            "Sid": "VisualEditor1",
            "Effect": "Allow",
            "Action": [
               "autoscaling:CreateAutoScalingGroup",
               "autoscaling:DescribeAutoScalingGroups",
               "autoscaling:DescribeScalingActivities",
               "autoscaling:UpdateAutoScalingGroup",

               "cloudformation:CreateStack",
               "cloudformation:DescribeStacks",

               "dynamodb:BatchGetItem",

               "ec2:AllocateAddress",
               "ec2:AssociateAddress",
               "ec2:AssociateRouteTable",
               "ec2:AssociateSubnetCidrBlock",
               "ec2:AttachInternetGateway",
               "ec2:AttachNetworkInterface",
               "ec2:AttachVolume",
               "ec2:AttachVpnGateway",
               "ec2:AuthorizeSecurityGroupEgress",
               "ec2:AuthorizeSecurityGroupIngress",
               "ec2:CreateRoute",
               "ec2:CreateInternetGateway",
               "ec2:CreateLaunchTemplate",
               "ec2:CreateNatGateway",
               "ec2:CreateNetworkInterface",
               "ec2:CreateRouteTable",
               "ec2:CreateSecurityGroup",
               "ec2:CreateSubnet",
               "ec2:CreateTags",
               "ec2:CreateVolume",
               "ec2:CreateVpc",
               "ec2:CreateVpnGateway",
               "ec2:DescribeAccountAttributes",
               "ec2:DescribeAddresses",
               "ec2:DescribeImages",
               "ec2:DescribeLaunchTemplates",
               "ec2:DescribeLaunchTemplateVersions",
               "ec2:DescribeNatGateways",
               "ec2:DescribeRegions",
               "ec2:DescribeRouteTables",
               "ec2:DescribeSecurityGroups",
               "ec2:DescribeSubnets",
               "ec2:DescribeVpcs",
               "ec2:ModifySubnetAttribute",
               "ec2:ModifyVpcAttribute",
               "ec2:RevokeSecurityGroupEgress",
               "ec2:RevokeSecurityGroupIngress",
               "ec2:RunInstances",

               "ecr:BatchCheckLayerAvailability",
               "ecr:BatchGetImage",
               "ecr:CompleteLayerUpload",
               "ecr:DescribeRepositories",
               "ecr:GetAuthorizationToken",
               "ecr:InitiateLayerUpload",
               "ecr:PutImage",
               "ecr:UploadLayerPart",

               "eks:CreateAddon",
               "eks:CreateCluster",
               "eks:DescribeAddon",
               "eks:DescribeAddonVersions",
               "eks:DescribeCluster",
               "eks:TagResource",

               "elasticfilesystem:CreateMountTarget",
               "elasticfilesystem:CreateFileSystem",
               "elasticfilesystem:CreateTags",

               "elasticloadbalancing:AddTags",
               "elasticloadbalancing:CreateLoadBalancer",
               "elasticloadbalancing:CreateLoadBalancerListeners",

               "iam:CreatePolicy",
               "iam:CreateRole",
               "iam:TagPolicy",
               "iam:TagRole",

               "kms:CreateAlias",
               "kms:CreateGrant",
               "kms:CreateKey",
               "kms:DescribeKey",
               "kms:Decrypt",
               "kms:Encrypt",
               "kms:ListAliases",

               "s3:CreateBucket",

               "servicequotas:ListServiceQuotas",

               "sts:GetCallerIdentity"
            ],
            "Resource": "*"
        }
    ]
}
After Release has done the initial installation, the policy can then be further restricted using the ARNs of these new resources.
Step 3: You can then switch back to the Release console. You will be asked to select an AWS region for the resources to deploy in.\ 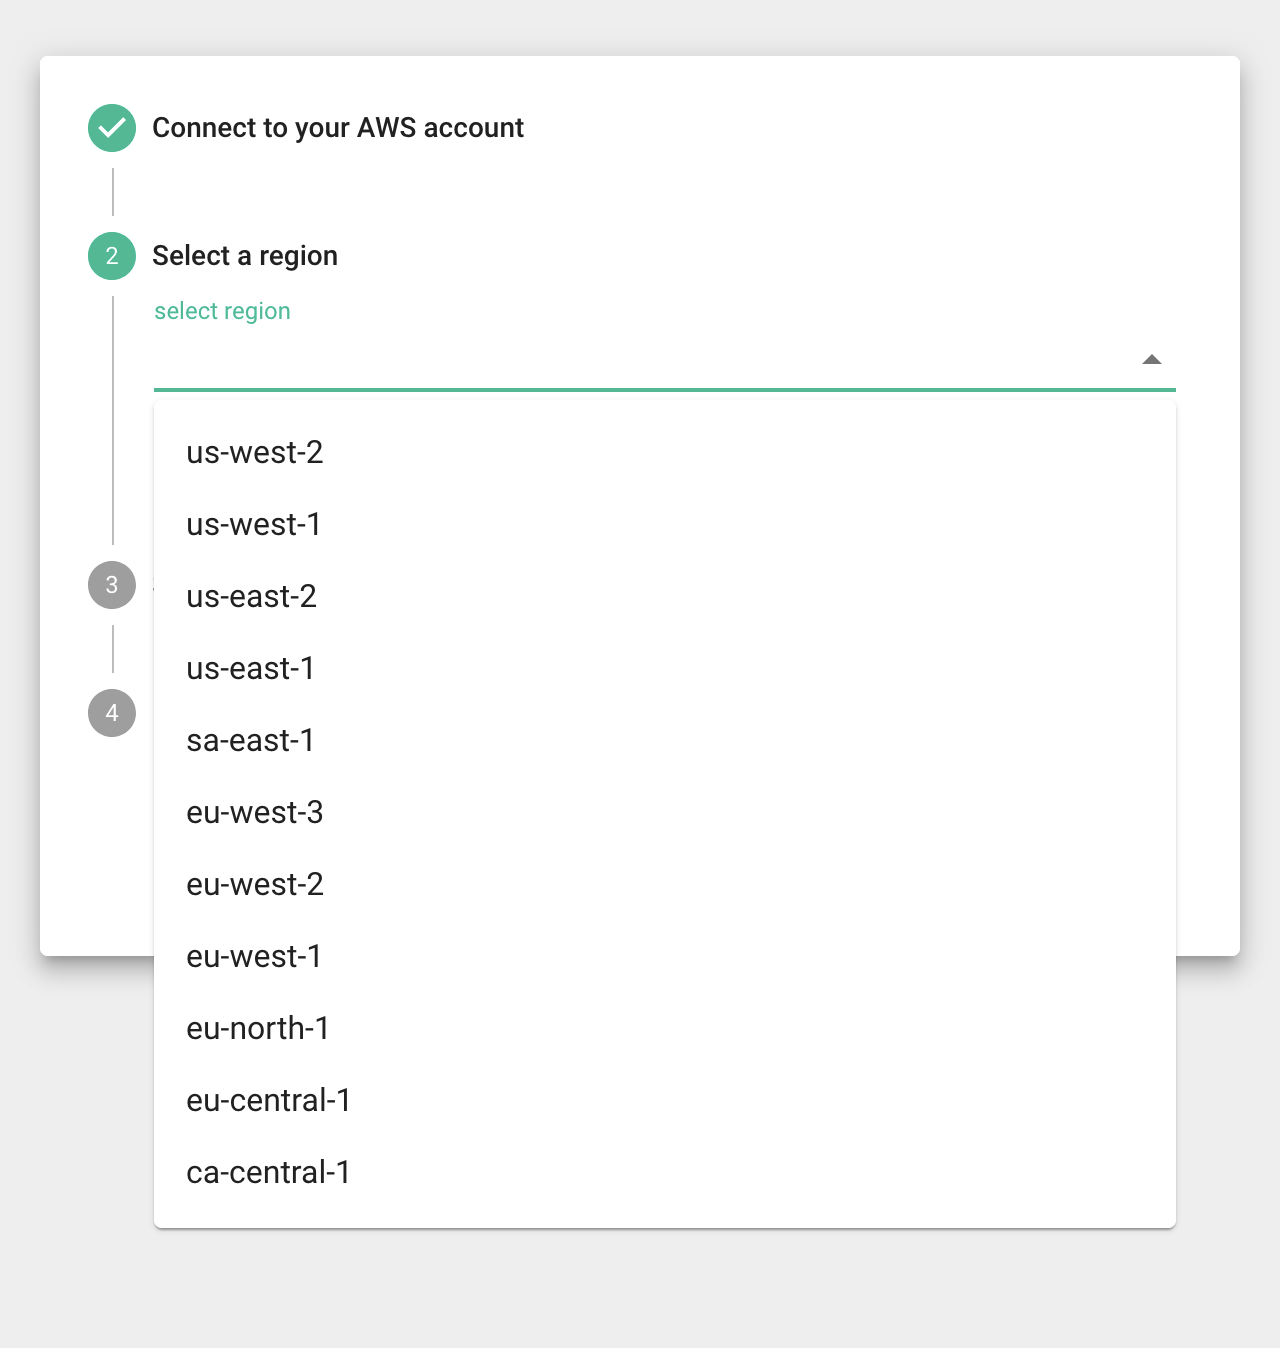
Then, you will be asked to select a CIDR block that does not conflict with any existing VPCs you might have. The ones shown in the dropdown are not currently used in your account.\ 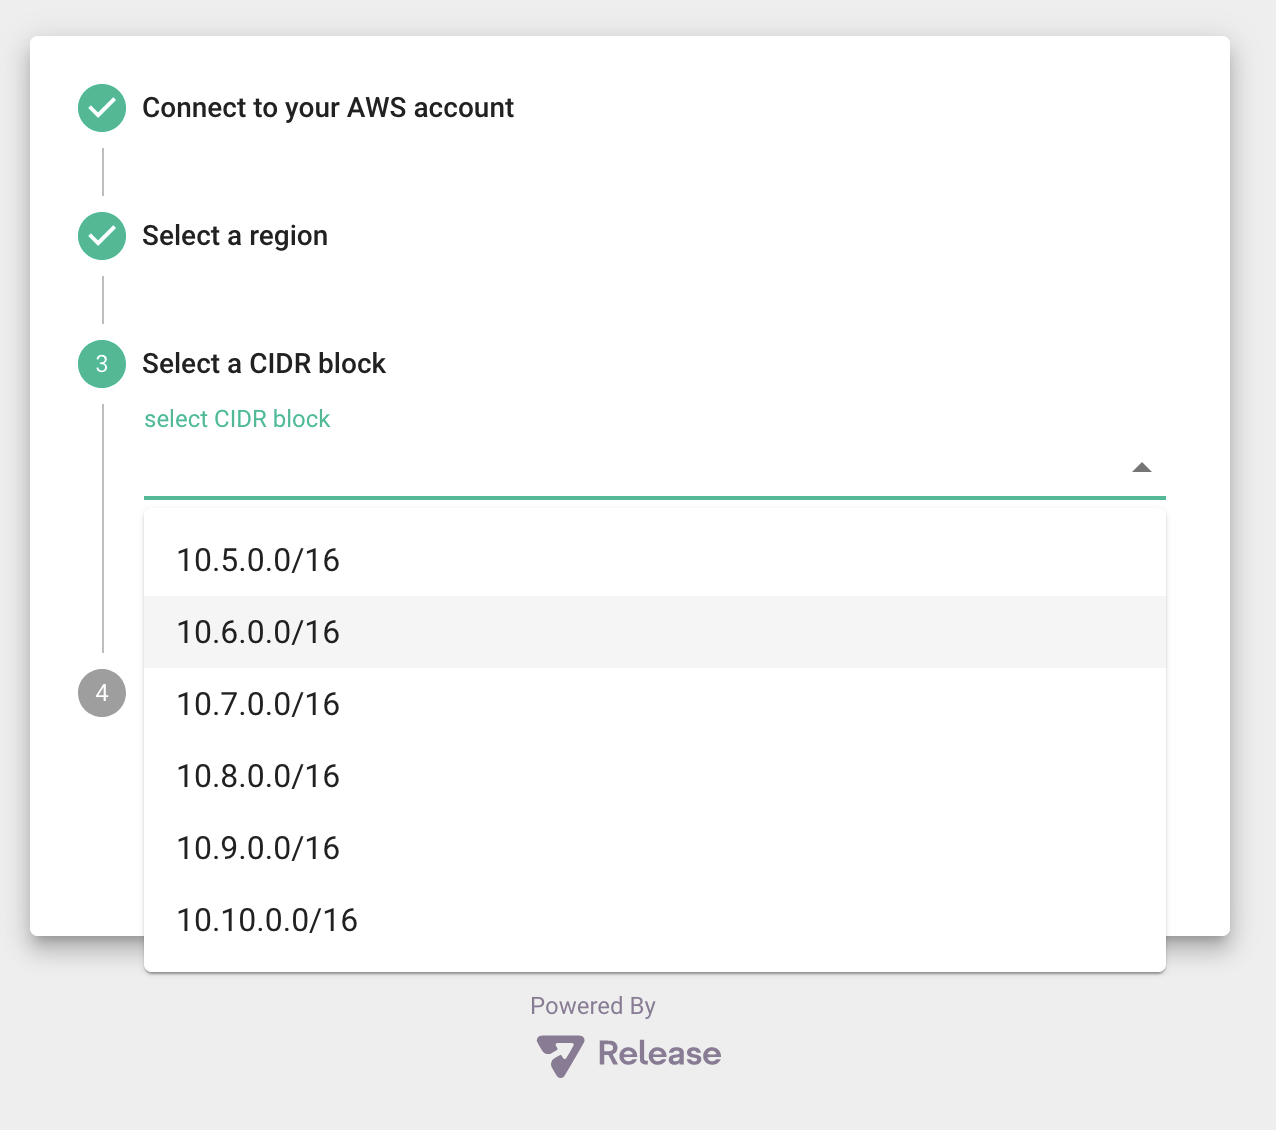
Step 4: Last step is to click install. You will receive an email once everything is ready!\ 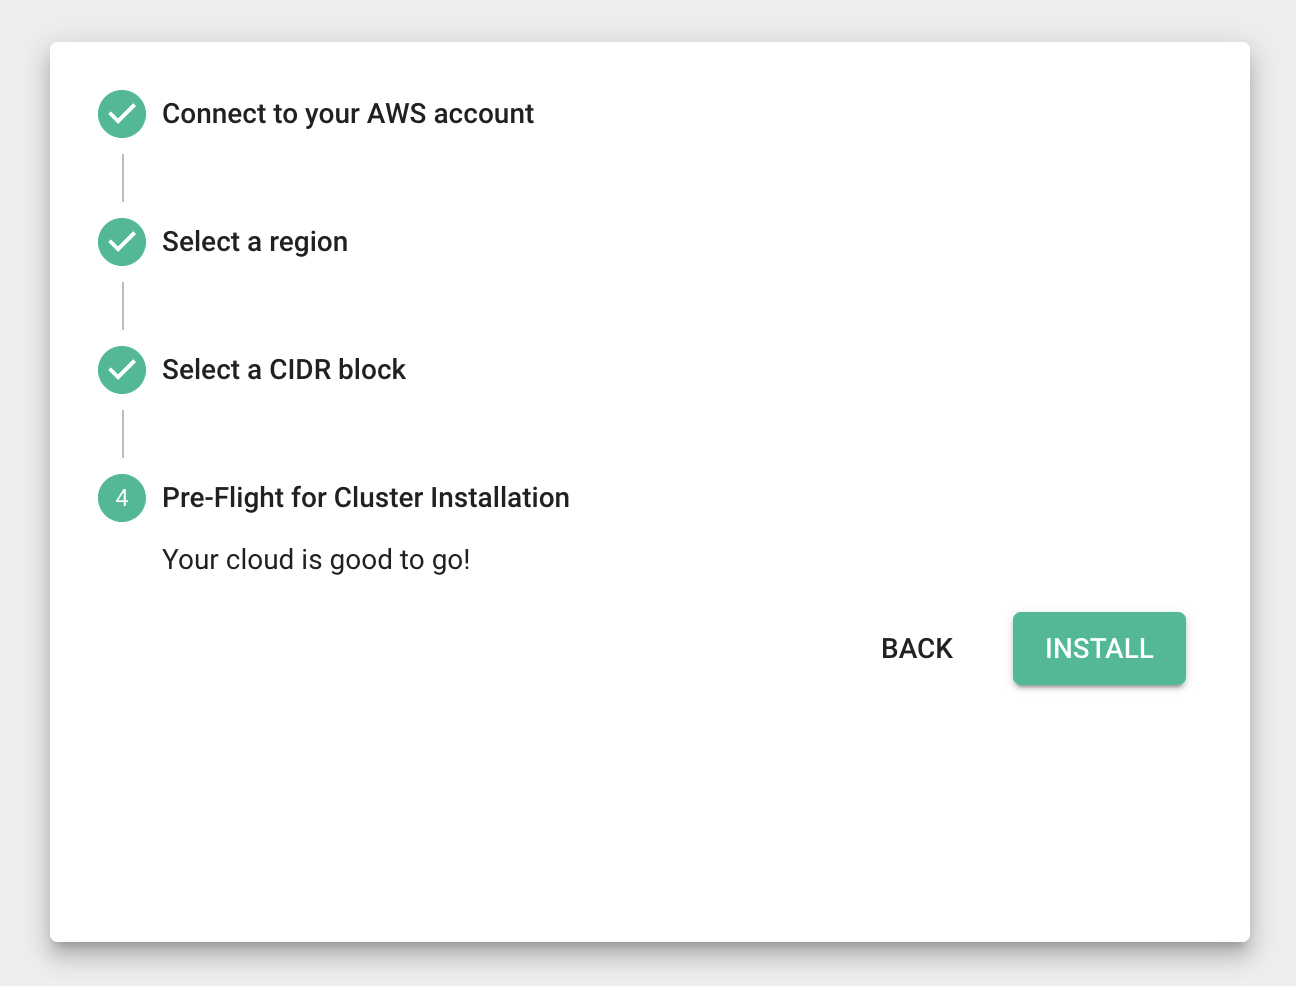
Ongoing Access
Once the role is created, the following steps occur whenever Release needs to access your account.
- Software running in the Release environment acquires a local role credential.
- The software requests a Security Token Service (STS) Assume Role credential for the remote customer role. The IAM role is confirmed by AWS on the customer side by verifying the source account and External ID supplied during creation. The IAM role is confirmed by AWS to have enough permissions to execute the command AWS creates a temporary set of credentials (between 15 minutes and several hours, depending on the configuration).
- AWS returns a token that is used to execute API calls in the remote account. If the credentials are about to expire, the software can renew the credentials by asking for a new set.
- The software uses the temporary credentials to execute commands against the customer account.
- All transactions, identities, and API calls are logged in Cloudtrail in the respective account.
Removing Access
You can break the remote access at any time with any of the following unilateral
actions:
- Deleting or restricting the policy attached to the role
- Deleting the IAM role.
- Deleting the Cloudformation template (which deletes the role and any other artifacts related to the installation).
- Denying and revoking any tokens that were issued to the IAM role.
Keep in mind that these actions are irreversible and would require re-installing the AWS integration steps for Release to regain access.
Connecting to your AWS Database
To allow your database to be accessed by the PopSQL deployment, we recommend you utilize something like VPC peering or a Transit Gateway if using AWS to host your database. Otherwise, an alternative option would be to get the IP address of the server instance, and whitelist that, similar to how you would use the public PopSQL application. You can get the IP address of your instance by looking at the ELB that was created for your application.
Updated 8 months ago